How to Create a Memory Statement Board (The Gentle + Classical Preschool)
/PSSST: Wondering what a memory statement even is? Read THIS. Wondering how to know when to move on from each statement? Check this out.
Prefer a video of using and creating a board? Find our YouTube video HERE.
During my years as a homeschool mom, I’ve found I’m not alone in always looking for a more efficient way to walk through our days, plan ahead, and keep moving without getting bogged down and distracted. One of the most effective tools I’ve found to stay on track—especially with younger learners—is the addition of a homeschool memory work board or memory statement display in our home.

Over the past year, I’ve received email after email from families using The Gentle + Classical Preschool or Gentle + Classical Nature echoing the same message: they felt lost and unfocused in their school days—until they created a memory work board.
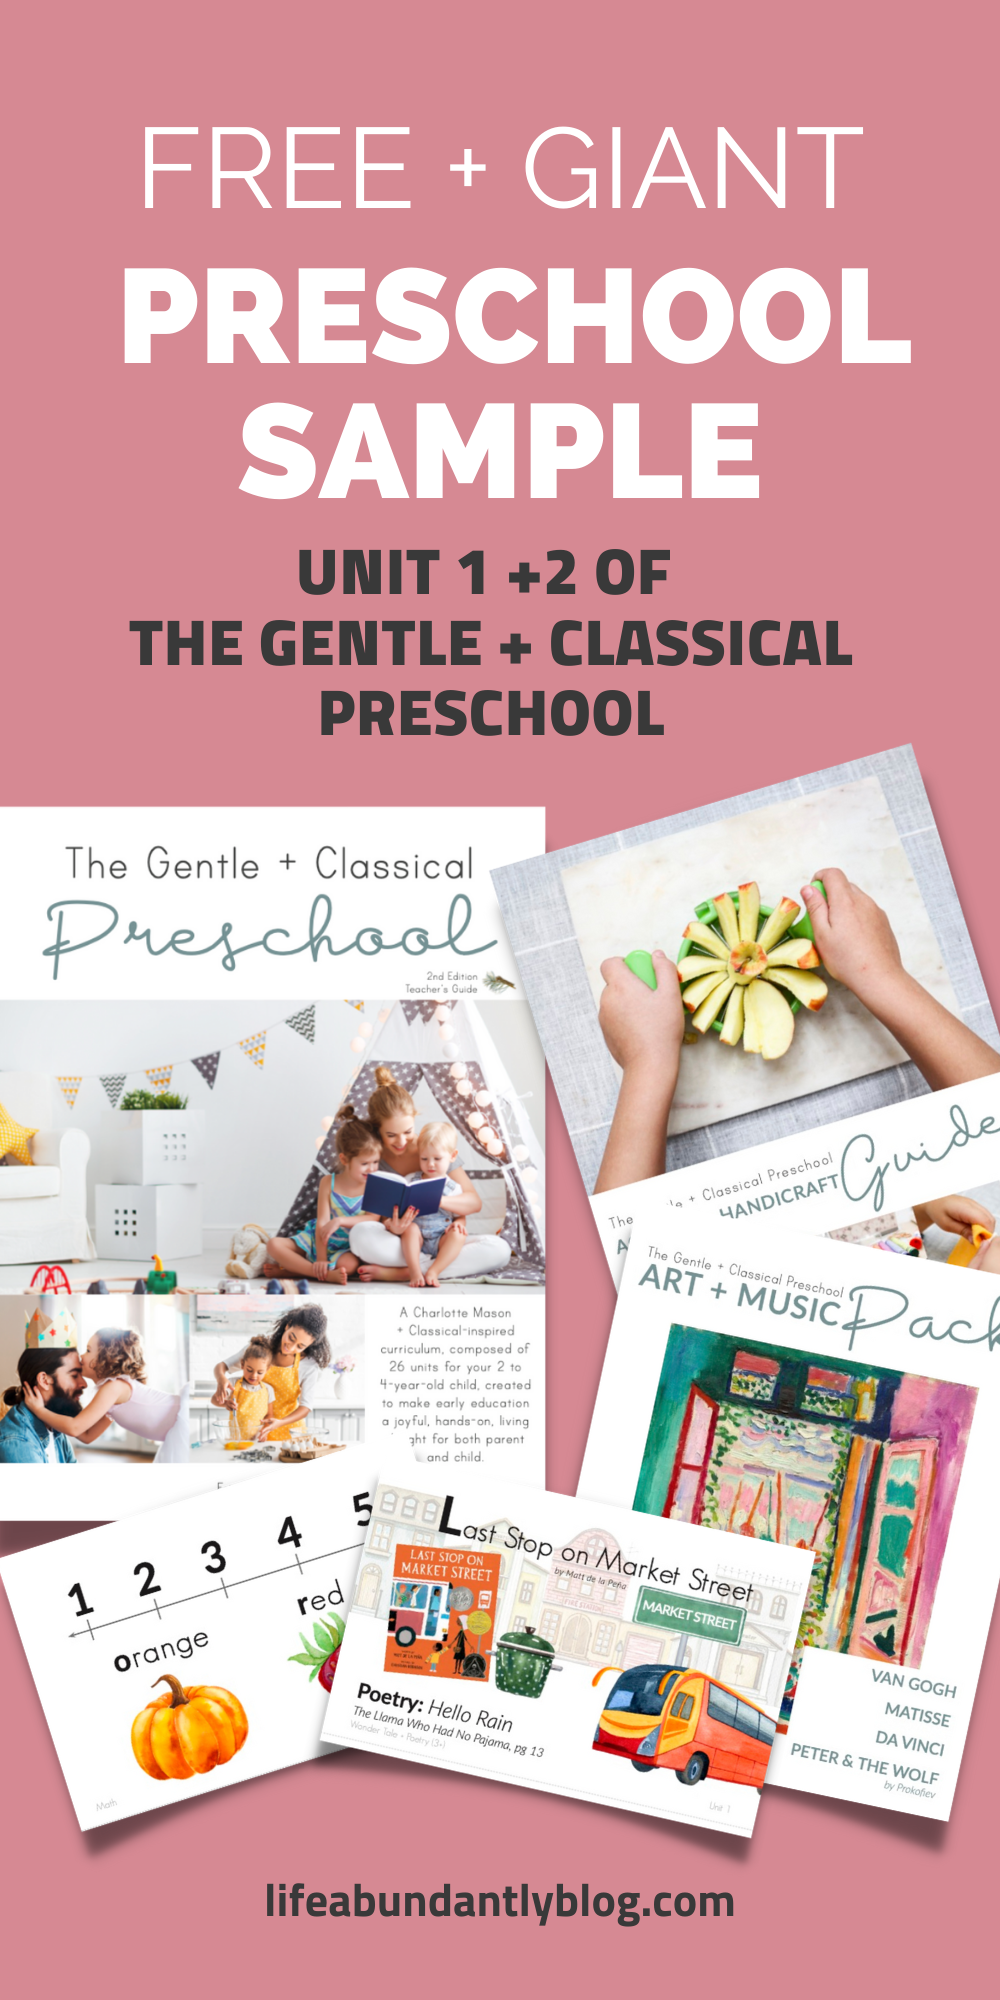
The Memory Statement Cards included in every bundle of our programs are made just for this purpose. These visual tools help you anchor your day and stay consistent, while still being flexible enough to shift things around when needed. If you’re looking for a step-by-step guide to creating one of these boards, I’ve also shared a video tutorial on YouTube showing exactly how I assembled mine.
I personally (at the original writing of this blog) have two boards—one for Gentle + Classical Nature and one for The Gentle + Classical Preschool. (If GCN had existed when I first began, I feel confident everything would’ve fit onto a single board!) You’ll find a complete supply list below, but just know: this entire project costs under $15 and takes about 30 minutes. Totally doable!
Display Ideas That Work in Real Homes
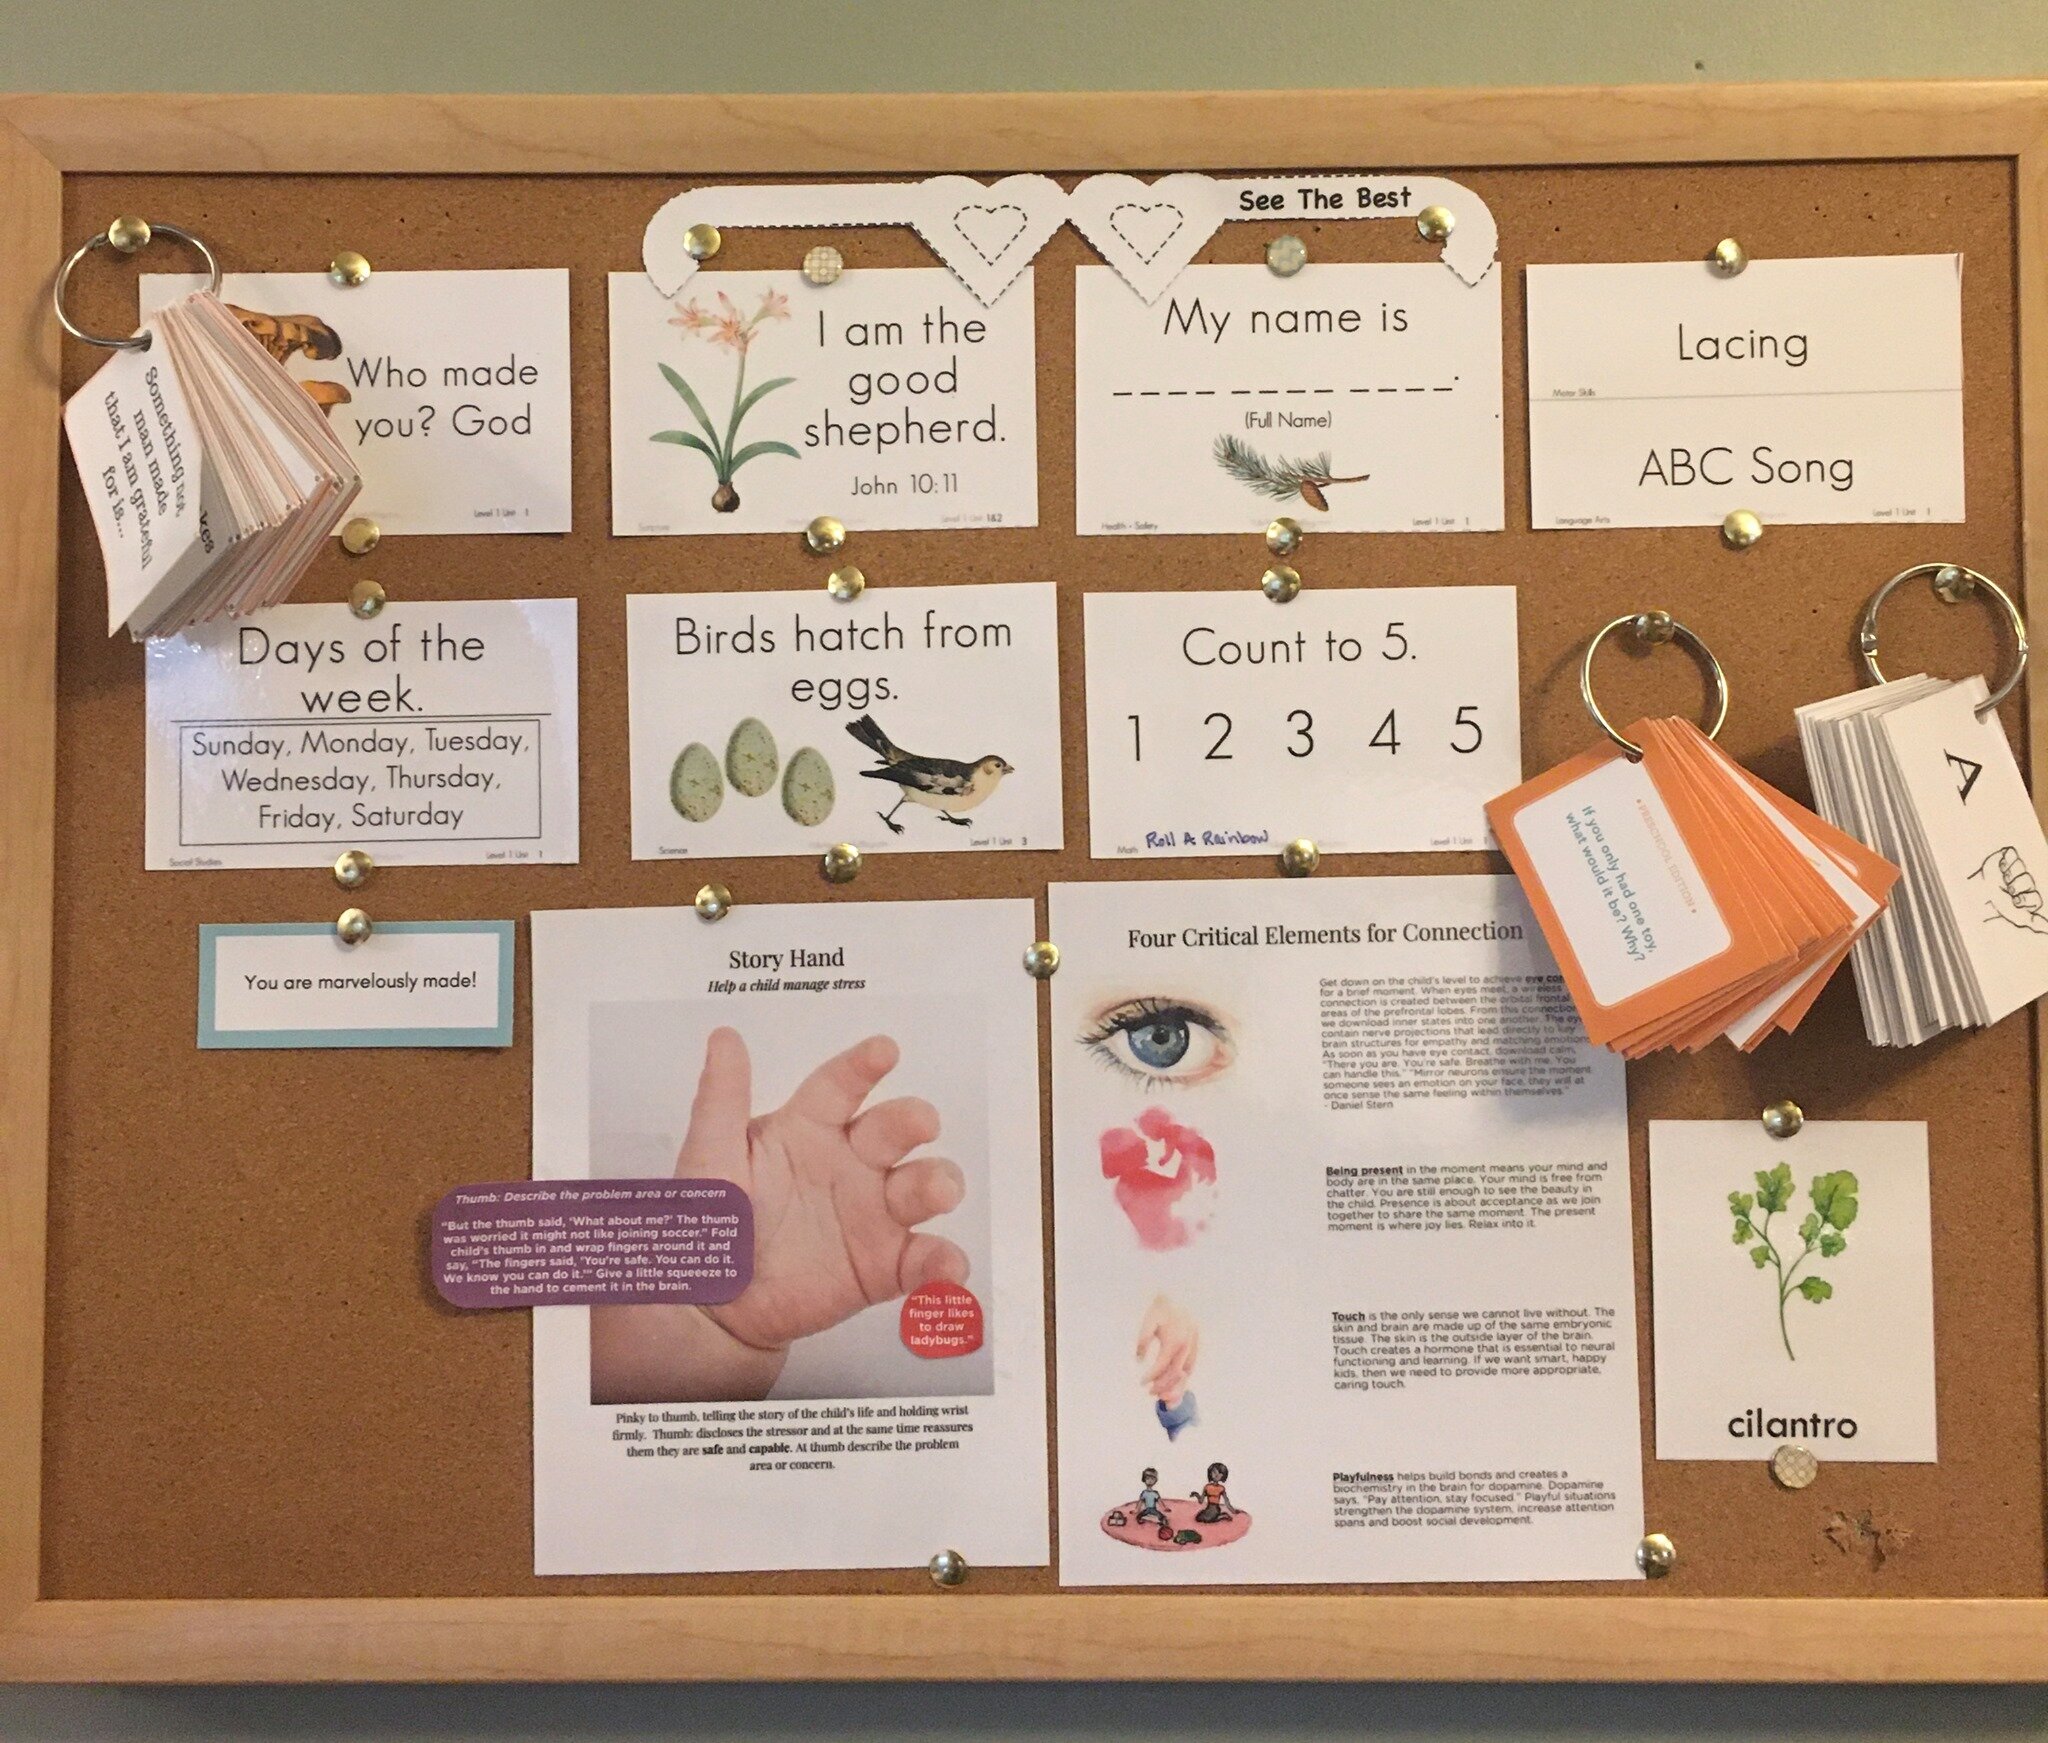
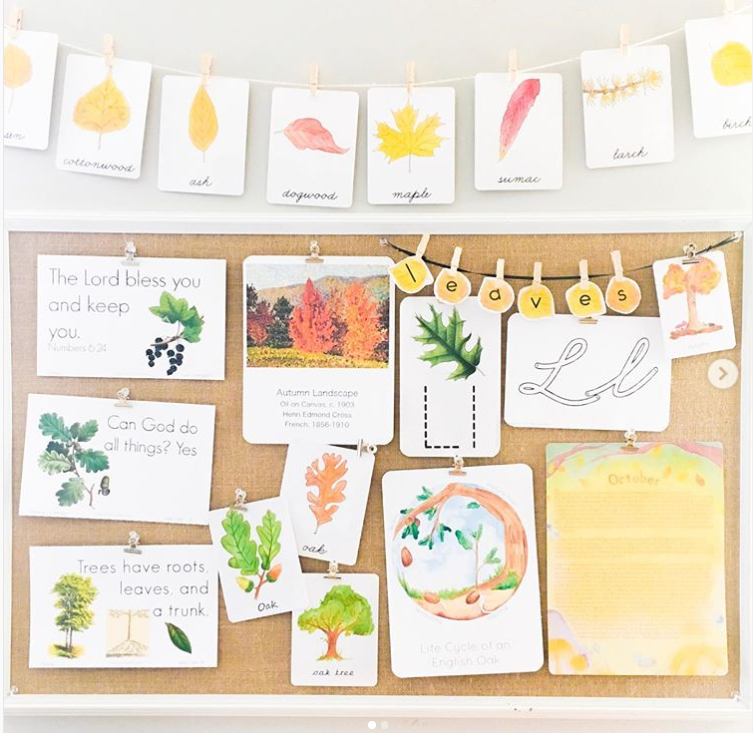
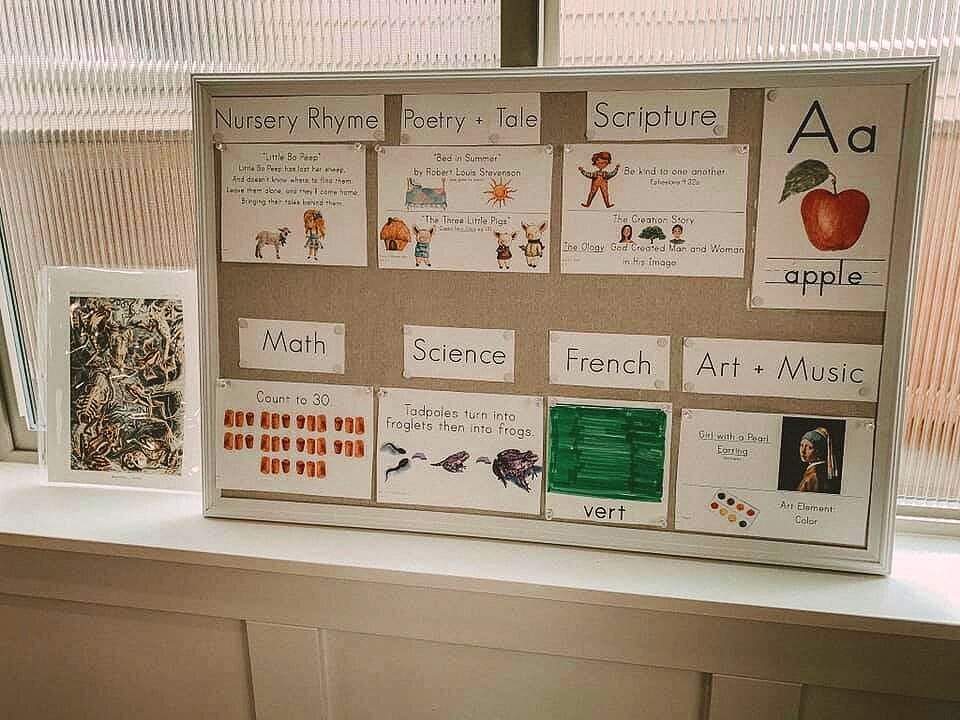
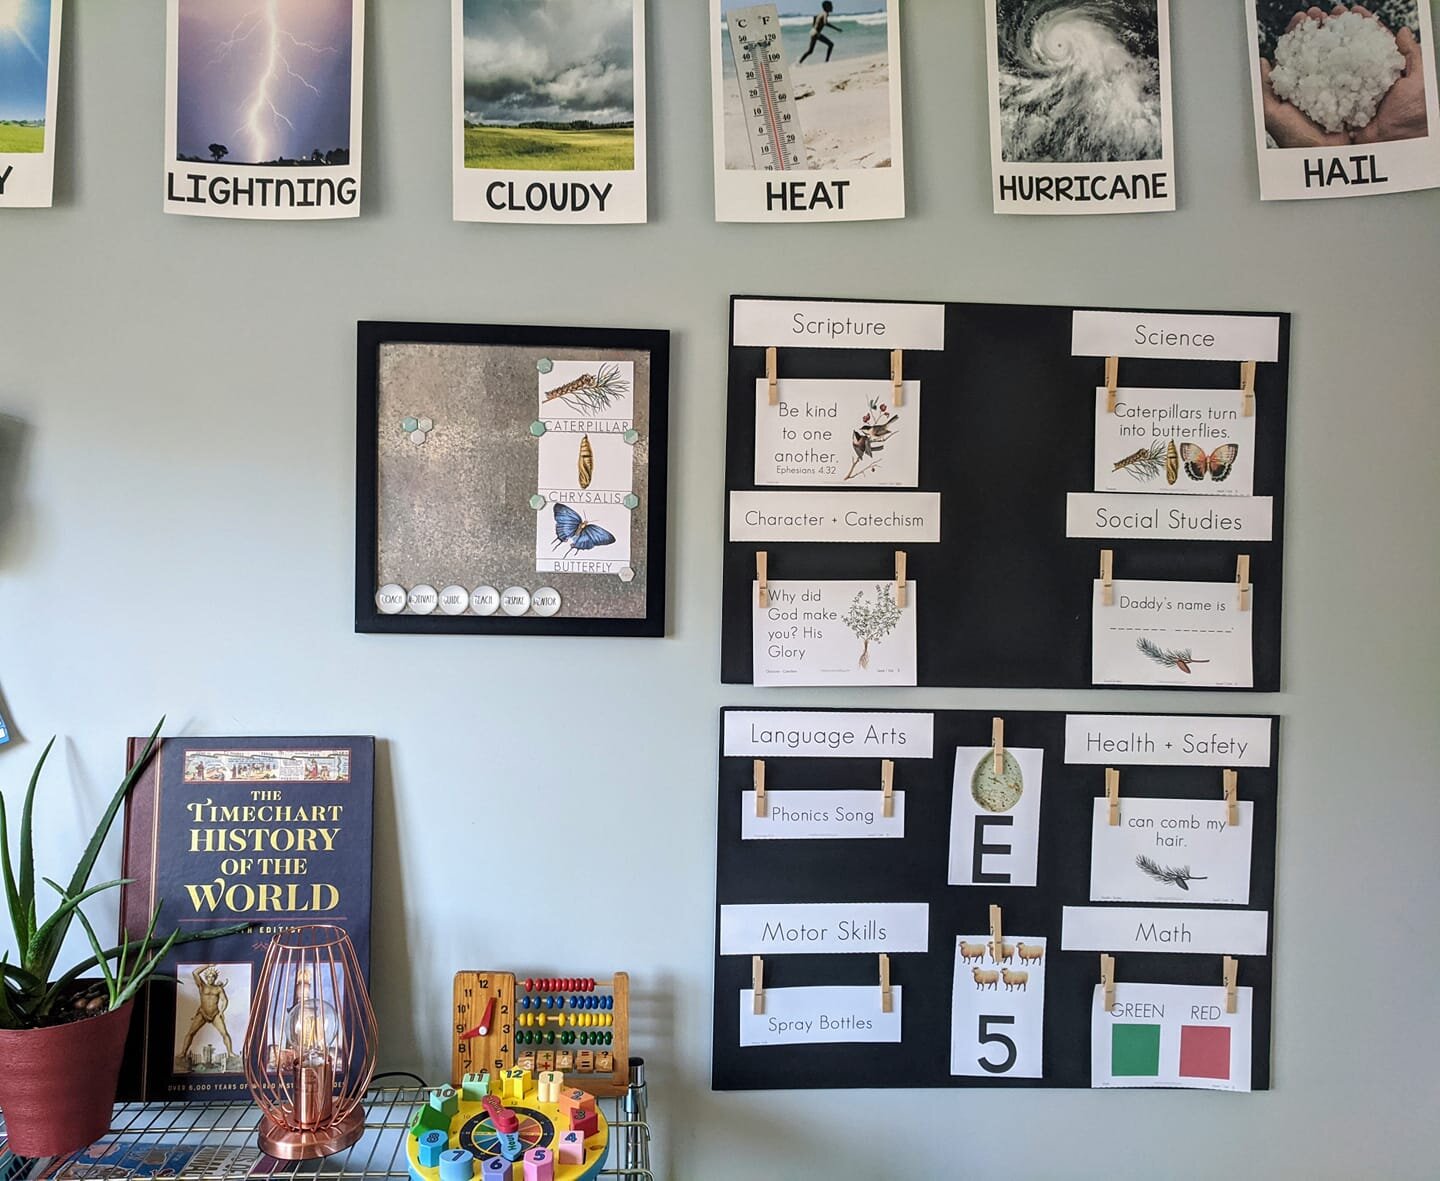
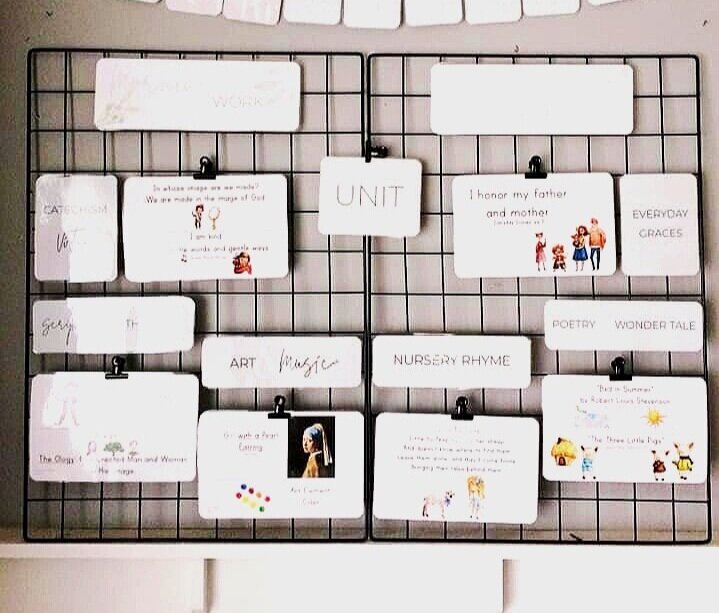
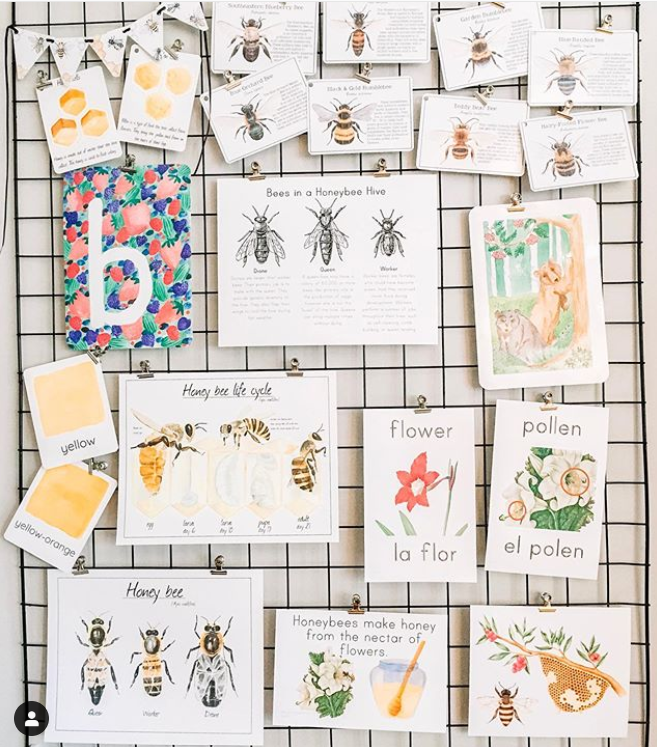
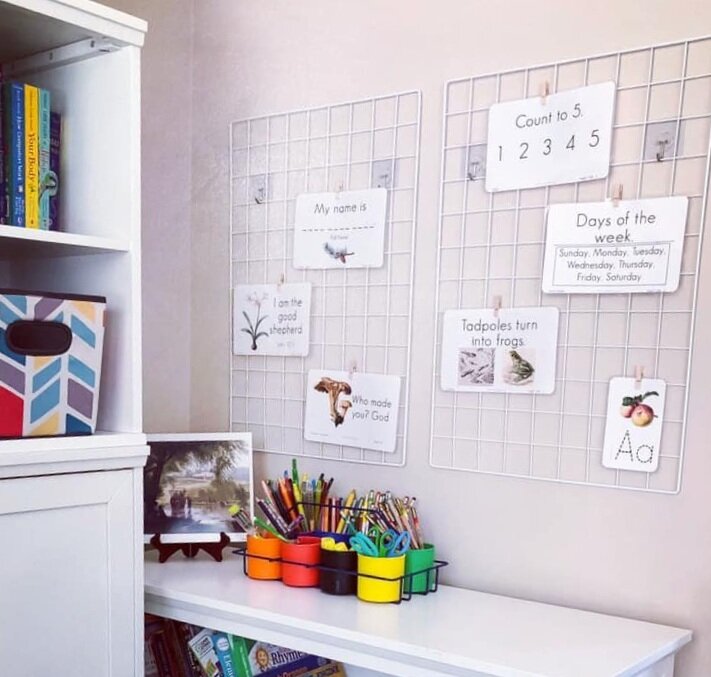
You don’t have to copy my board exactly. I’ve seen so many beautiful variations from other families—Memory Statement Cards clipped to a cork board, hung on the fridge with magnets, or strung across a mantle like a banner. Your display doesn’t have to be fancy—just functional and inspiring to your family.
That said, I’ve also heard from many mamas who’ve said, “I wish I’d built it just like yours from the start—it would’ve saved me so much time and money.” In tight spaces, you can even slide the cards into a half-size binder (8.5x5.5”), add tabbed dividers between units, and flip through them during review time.
Supplies for a Gentle + Classical Memory Work Board
Here’s what you’ll need to build a board like the one I use:
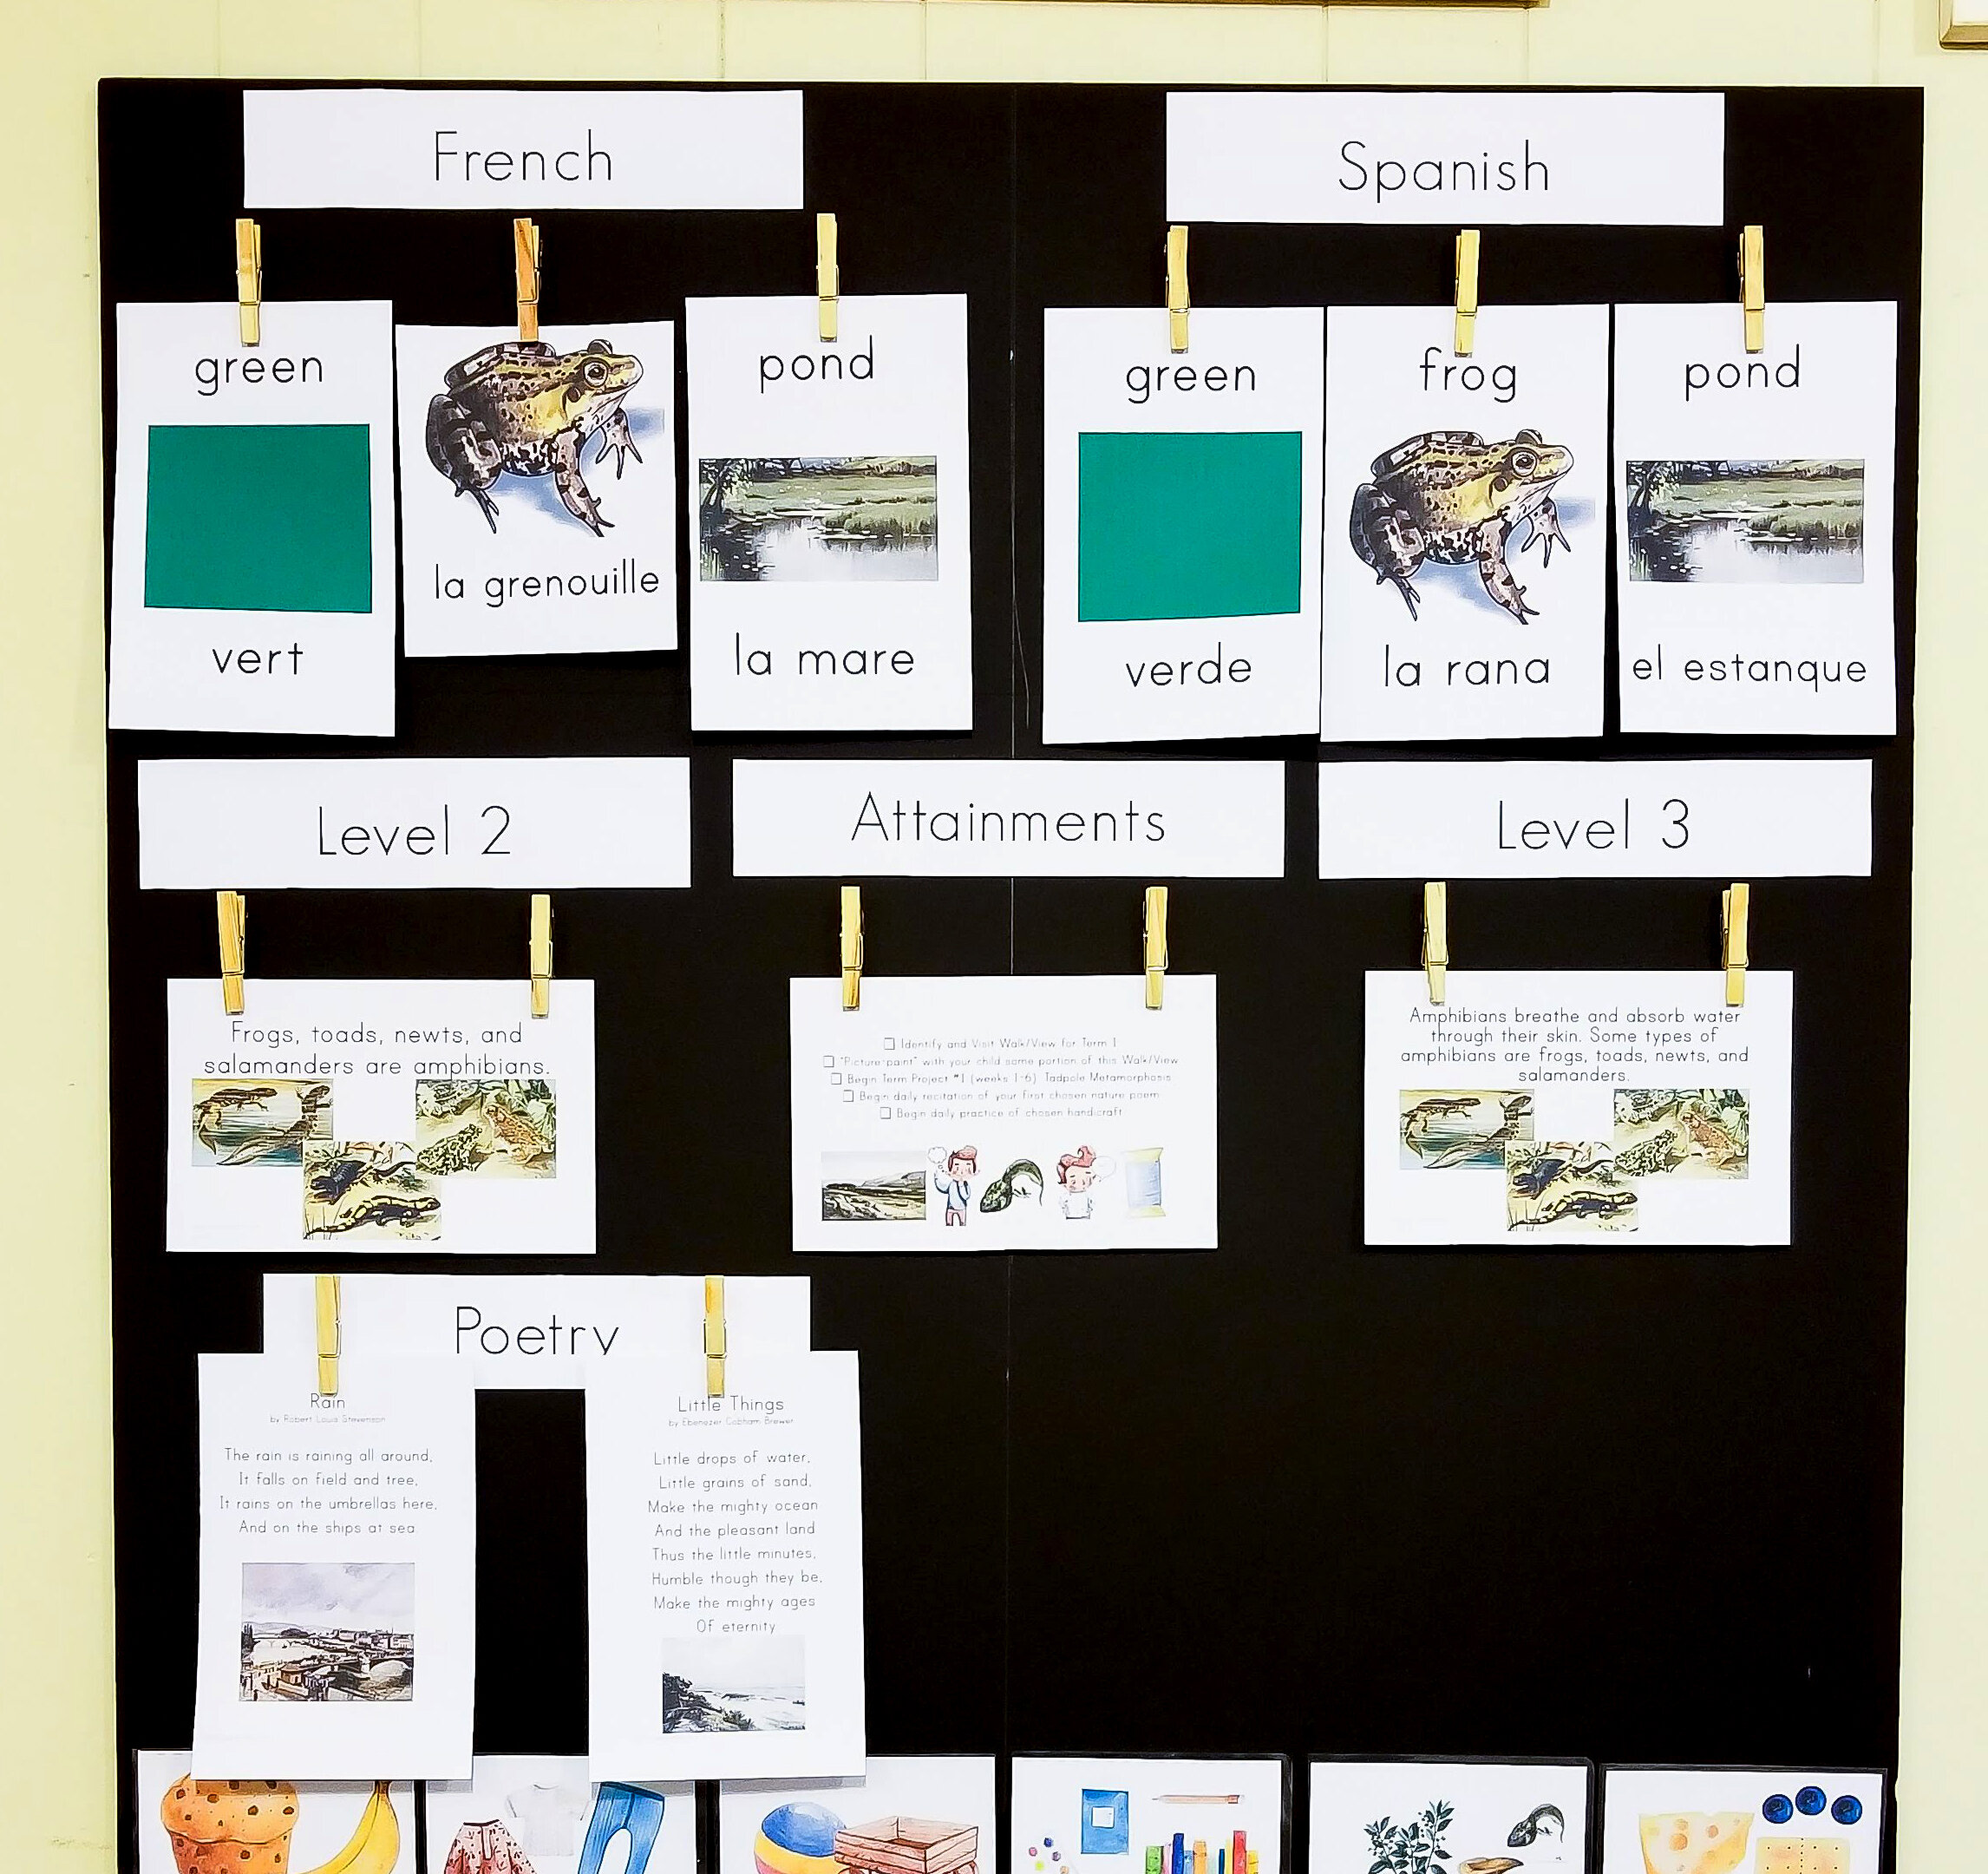
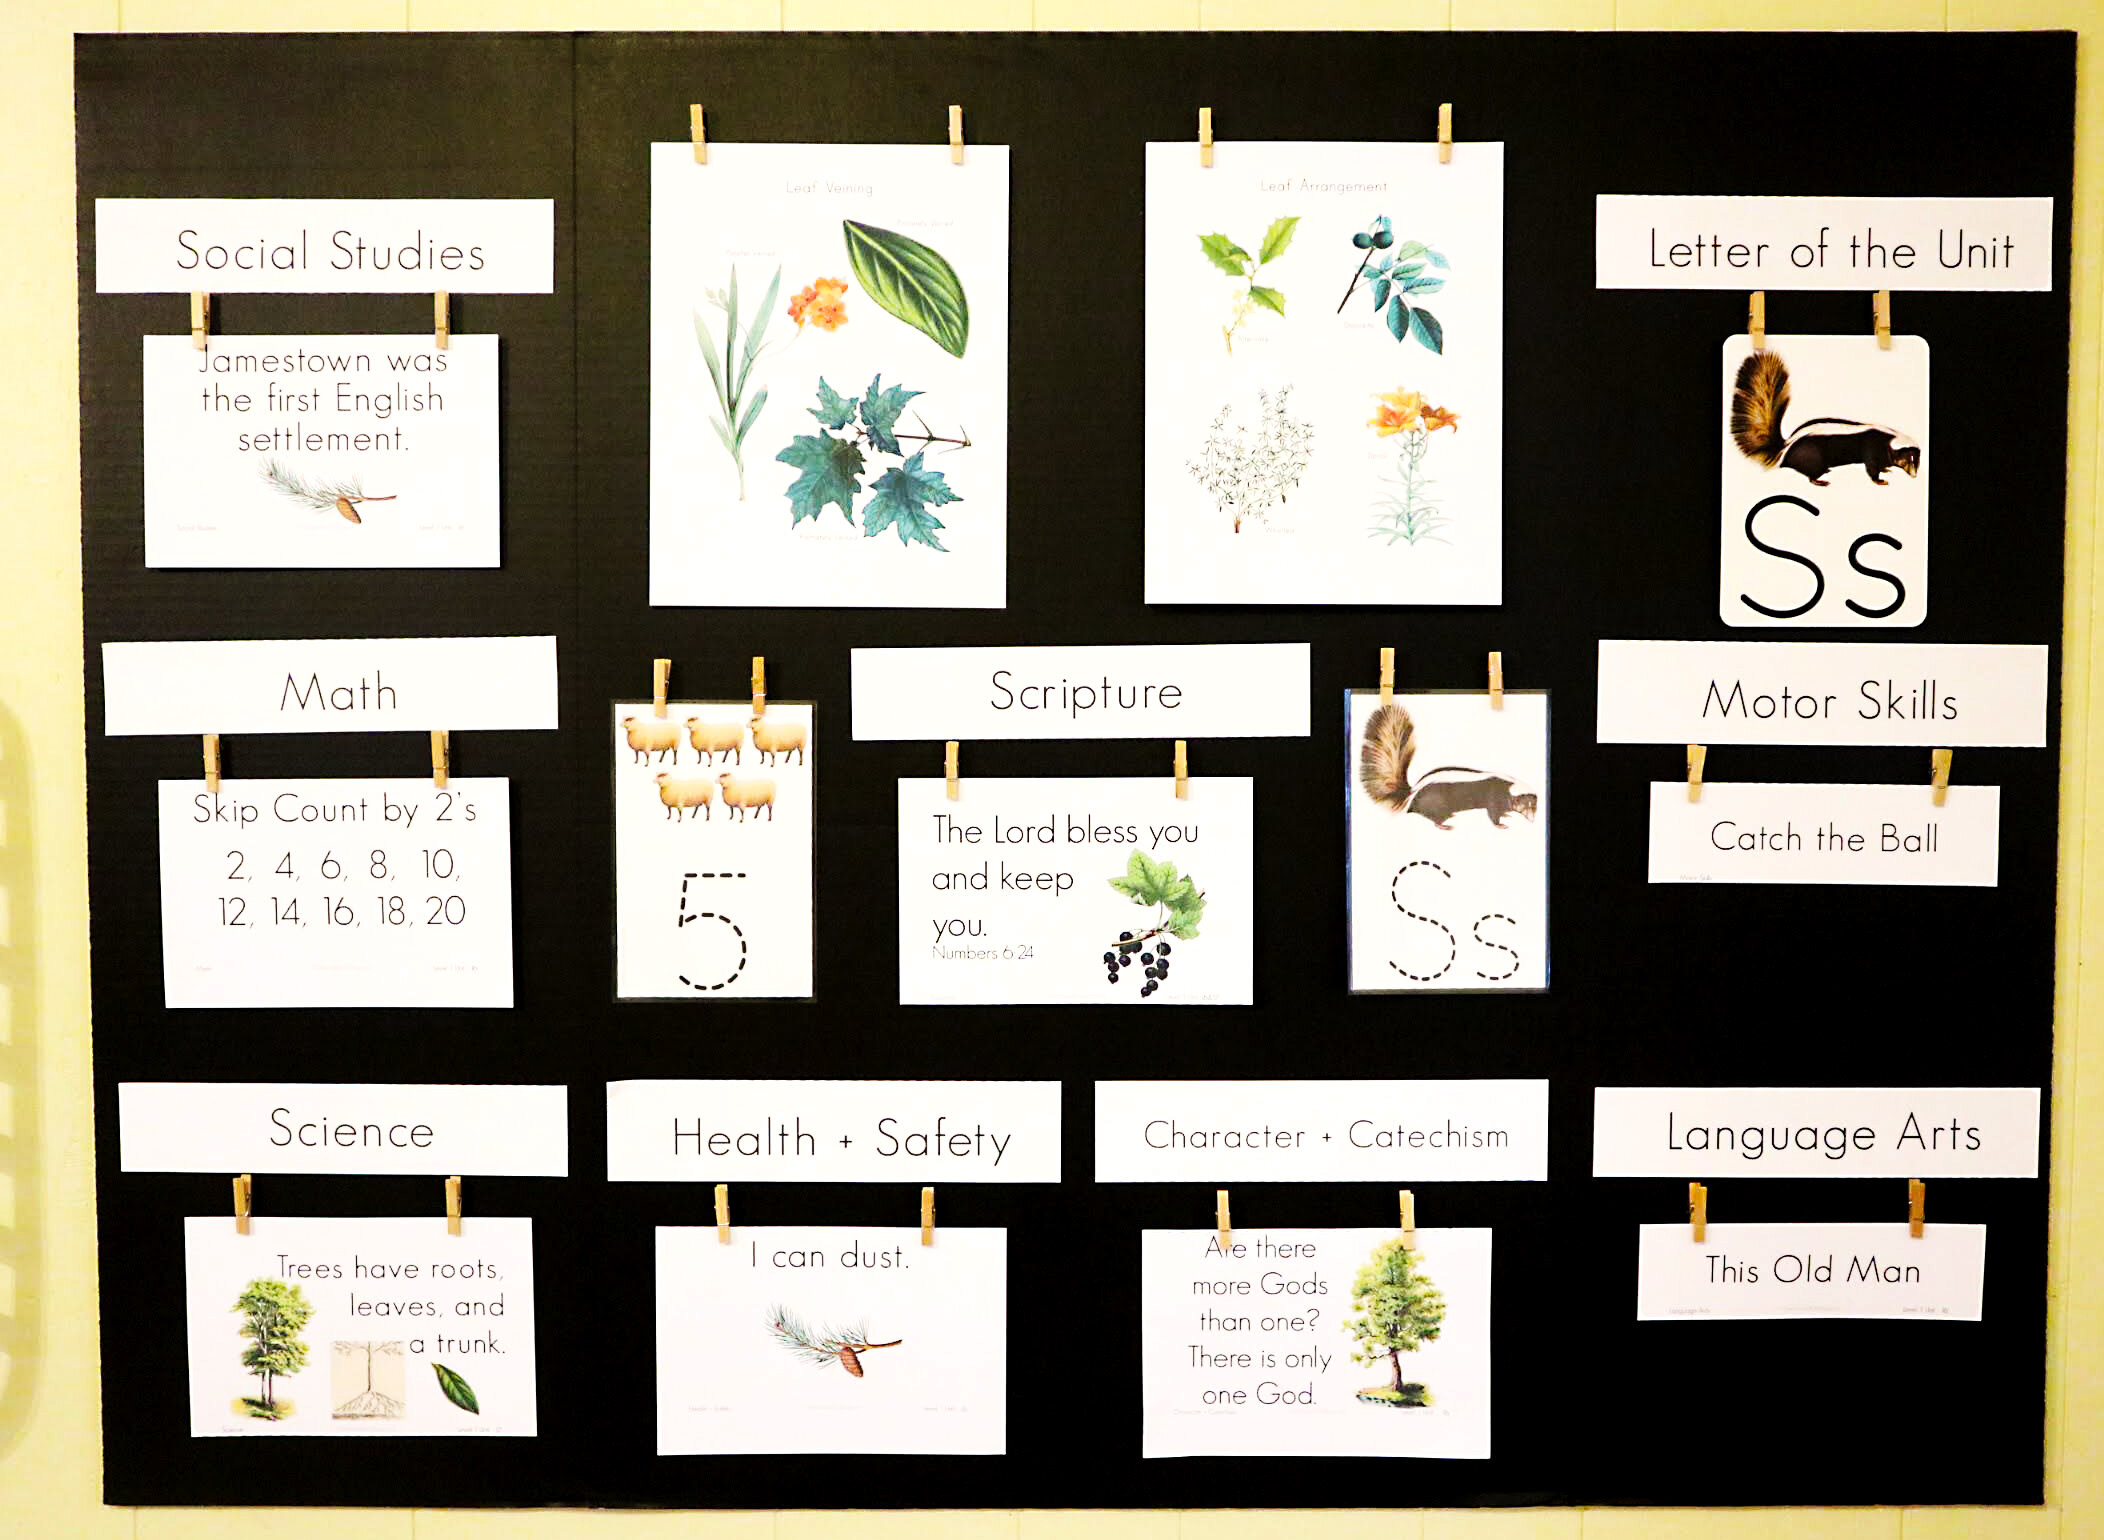
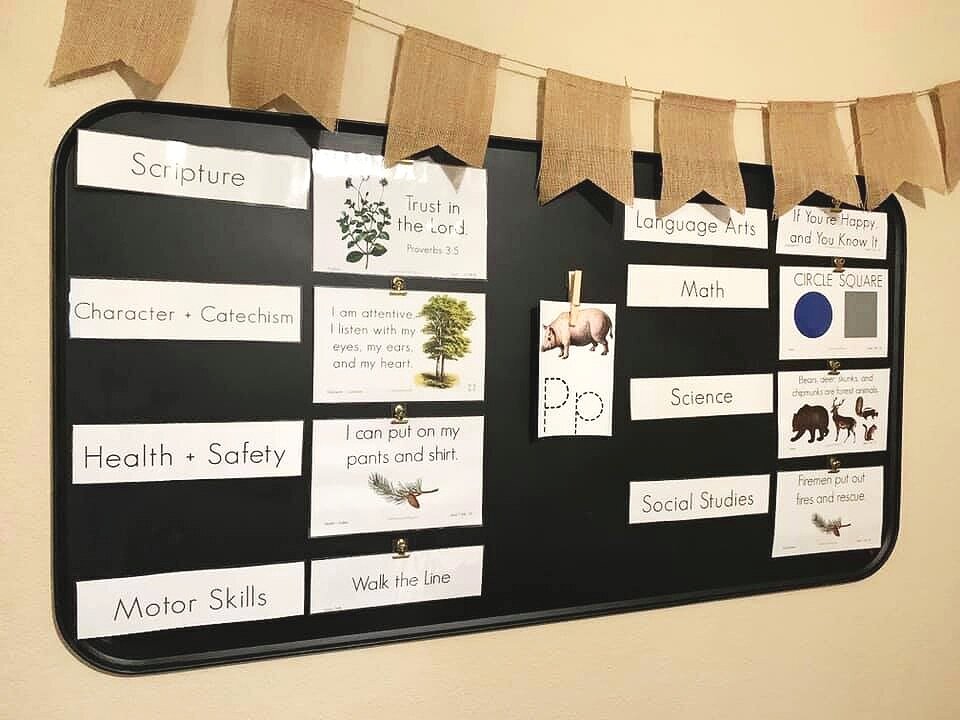
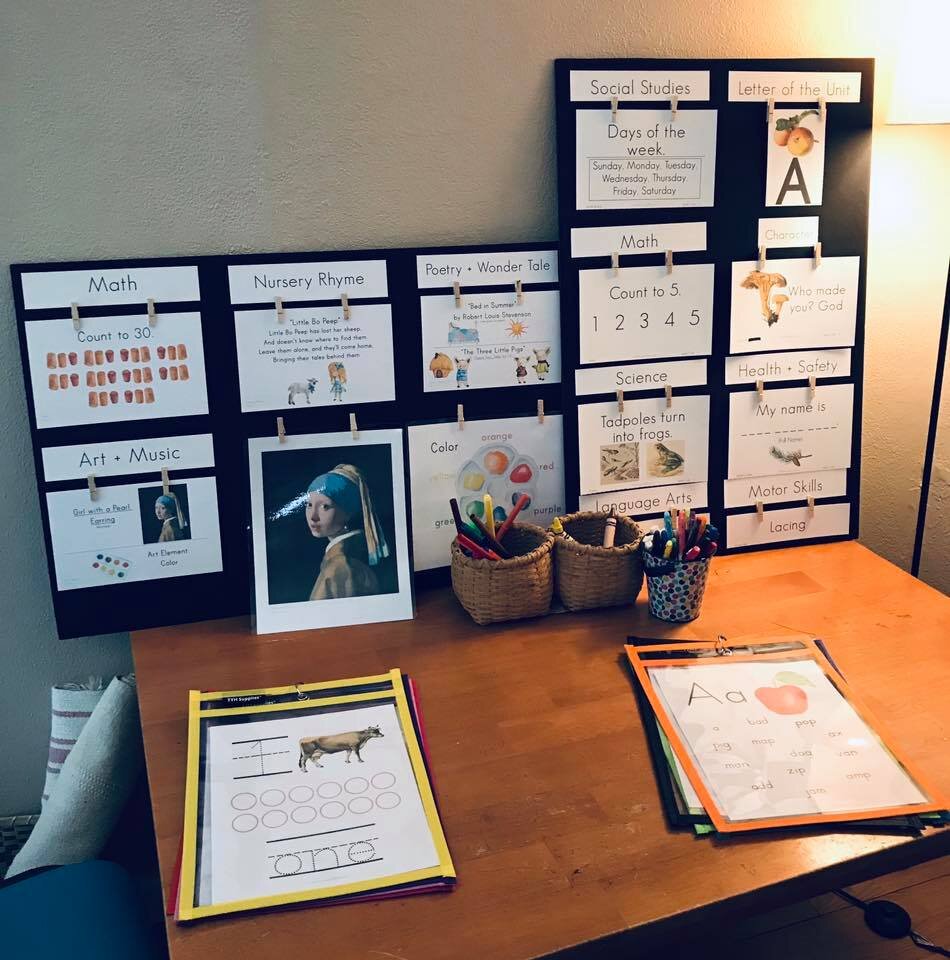
Memory Board Headers, memory statement cards, and flashcards pictured above are from The gentle + classical Preschool Level 1 Bundle
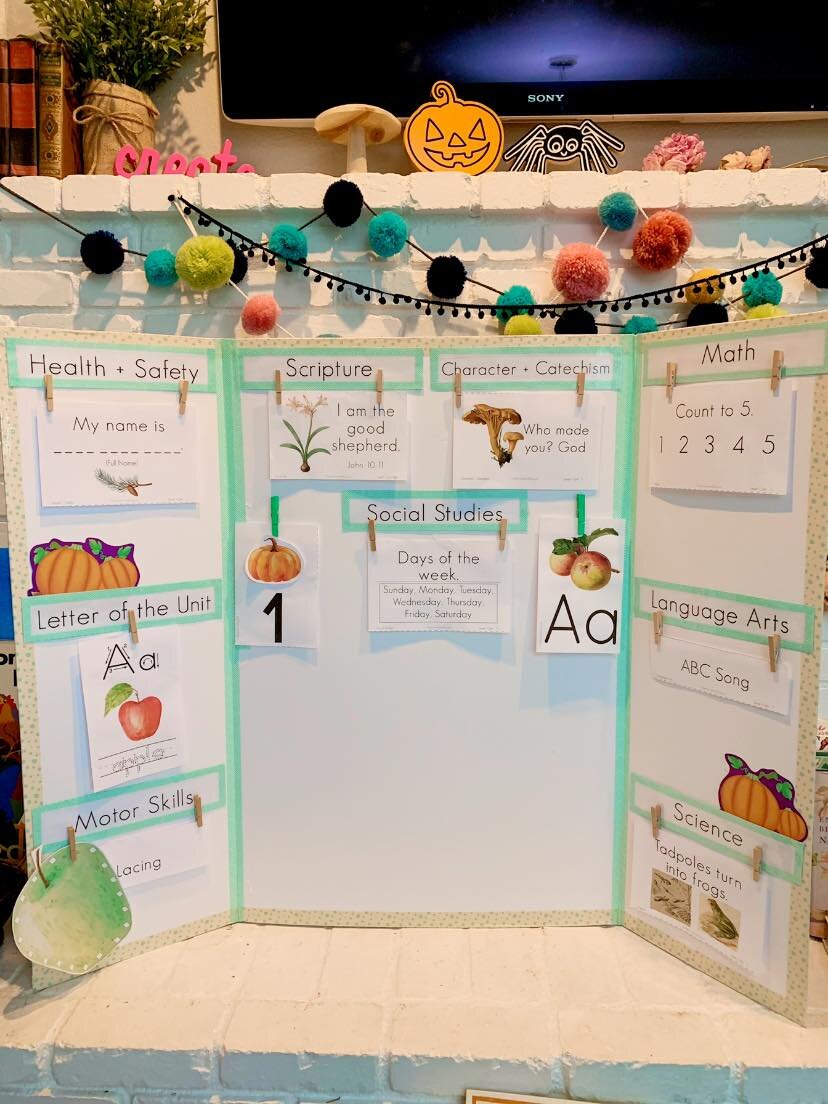
A black tri-fold foam board (48”x36”) – Available at Hobby Lobby, Michael’s, or Walmart for $5–10. You don’t have to get a tri-fold board, but if you want to be able to fold and store it easily, it’s helpful.
About 2 dozen clothespins – Mini or full size, depending on your aesthetic preference.
A hot glue gun and glue sticks – I’ve tried adhesive dots for the headers before, but for the clothespins, you really need hot glue.
How to Assemble Your Memory Work Board
1. Print and Trim Your Headers.
Use the “board headers” included in your Memory Statement Bundle or curriculum bundle from our shop. Decide if you’ll hang your board vertically or lay it out horizontally (especially if you’ll be propping it on a table or storing it flat).
2. Layout Before You Glue.
Before attaching anything, lay out your headers and clothespins like a puzzle to make sure everything fits. If it helps, lightly sketch layout lines with a pencil and yardstick. If you're combining Level 1 and Level 2 of Preschool, you'll need to pick and choose subjects to make it all fit.
3. Glue It Down.
Once you’re happy with the layout, glue your headers and clothespins in place. You’ll want two clothespins per card, except for ABC/123 flashcards, which only need one.
4. Mount It (or Not!).
I used Velcro® Command Strips® to hang mine on the wall (about six of them). If you’re tight on space or don’t want to mount it, the tri-fold design allows you to set it up on a table or the floor and store it afterward.
Why It Matters
Creating a memory statement board is more than a cute craft—it’s a transformational tool that brings structure, rhythm, and joy to your homeschool. You’ll be amazed how such a simple visual anchor can breathe new life into your school days and help your children retain what they’re learning.
Whether you’re in a season of burnout or just want to start strong, putting your Gentle + Classical Memory Statement Cards front and center is one of the simplest ways to bring focus and consistency into your homeschool.